
Original Link: https://www.anandtech.com/show/2436
Our MacBook Air just arrived and before even turning it on we had a few burning questions we had to answer. These questions of course required us to break out the screw driver and open up the poor little thing.
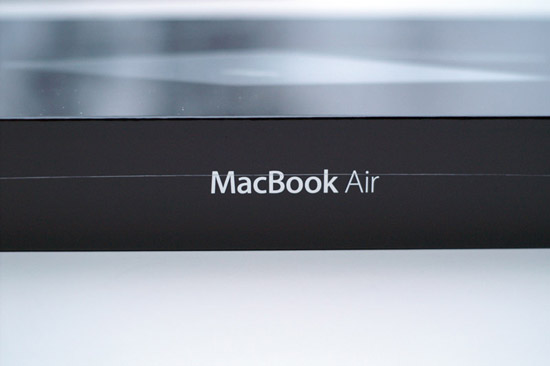
The MacBook Air is surprisingly easy to take apart, you simply have to remove 10 screws from the bottom of the notebook and just pull the base away. There's no prying, no heat gun and no special tools required. This was infinitely easier than taking apart the iPhone.
With the bottom off you'll see this:
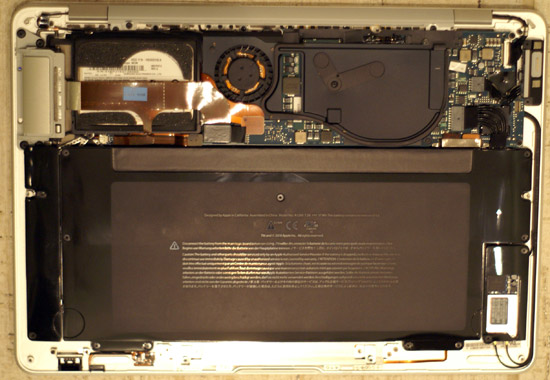
The big black thing that takes up the majority of the real estate is the Air's battery, to remove it you simply unscrew it from the chassis:

With the battery out of the way the MacBook Air is much simpler on the inside. The upper left houses the hard drive and next to it is the motherboard. The little thing in the lower right is the wireless adapter.
We wanted to accomplish two things: get a closer look at the hard drive and have a look at the SFF CPU/chipset that we'd been so obsessed with a couple of weeks ago. Getting the battery out wasn't a problem, but replacing the hard drive proved to be a little more challenging.
First we had to disconnect all the cables around the drive, as well as remove the little black strip to the left of the notebook and the ports in the upper left.
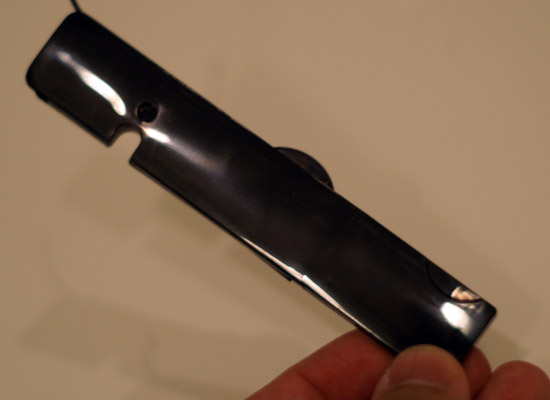
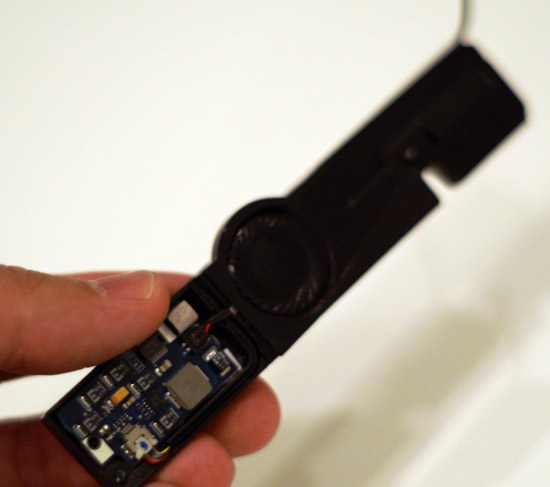
It appears to be the MacBook Air's speaker
There are four screws that hold the hard drive in, three of which are visible. The fourth is underneath a removable piece of black plastic stuck to the screw:
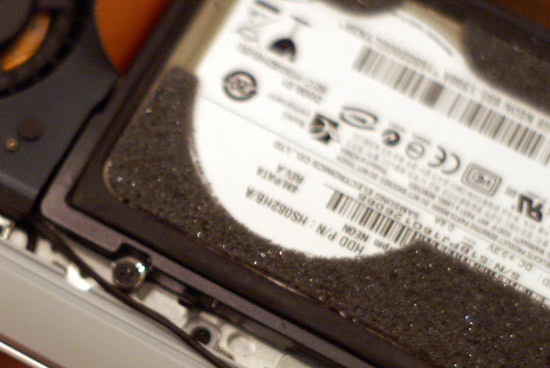
With all of the screws out you can actually lift the bracket that holds the hard drive and pop the hard drive out:
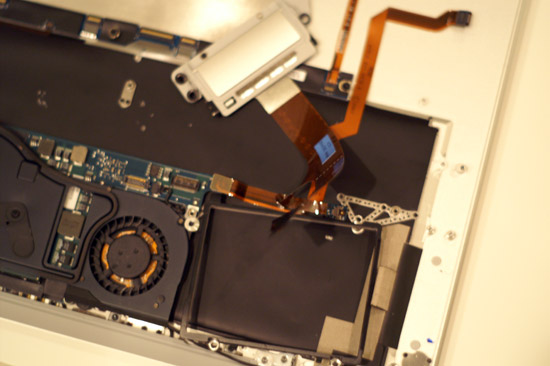
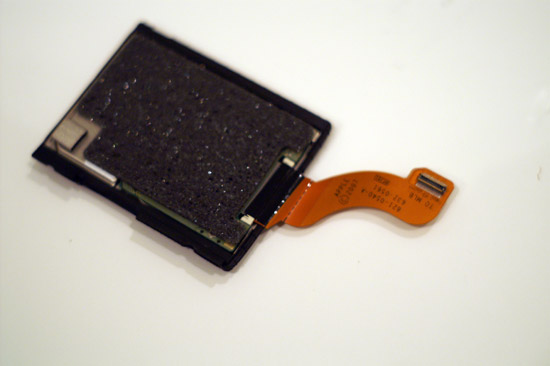
The MacBook Air hard drive is a 1.8", 5mm thick PATA drive from Samsung. It features a 8MB buffer and spins at 4200RPM. There is no accessible SATA interface on the motherboard, clearly for space constraints. Instead of a standard PATA connector Apple uses a 40-pin ZIF (Zero Insertion Force) connector, which Samsung offers as an option on its drives.
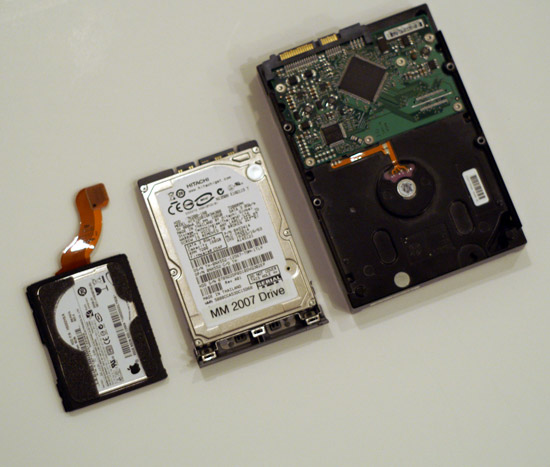
From left to right: 1.8" MacBook Air drive, 2.5" standard notebook drive, 3.5" desktop drive
The drive itself is a Spinpoint N2 and carries the model number HS082HB. It looks like replacing it with a 1.8", 5mm thick SSD should be possible as long as you opt for the 40-pin ZIF connector. It looks like Samsung also makes the SSD for the MacBook Air so the swap shouldn't be that hard to do. If you wanted to save some money you could opt for a 32GB SSD, which will be considerably cheaper. Another alternative is to wait for 64GB SSD prices to drop and simply upgrade later.
Next up, we wanted a look at the motherboard and CPU. Four screws hold the motherboard in place, simply remove them and we've got access to the board:
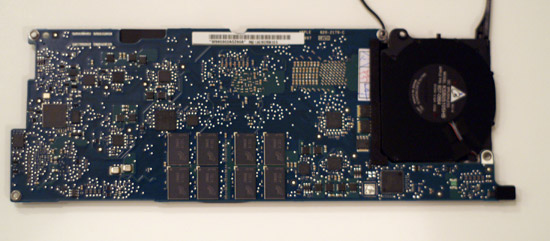
The back of the motherboard
You can see the back of the fan in the upper right hand corner, it is tiny. Half of the 1GB of memory is on the back of the motherboard, the rest is on the front.
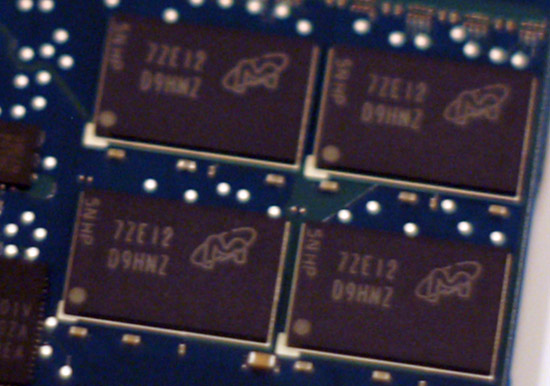
MacBook Air memory
The motherboard itself isn't that much bigger than an iPhone:

Once unscrewed, the heatsink pops right off of the front of the motherboard:

Underneath the heatsink we see the heart and soul of the MacBook Air:
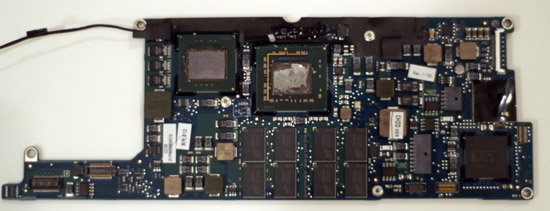
The two big chips in the center of the board are the CPU and the GMCH (Graphics and Memory Controller Hub), the smaller chip is actually the CPU while the slightly larger chip is the GMCH.
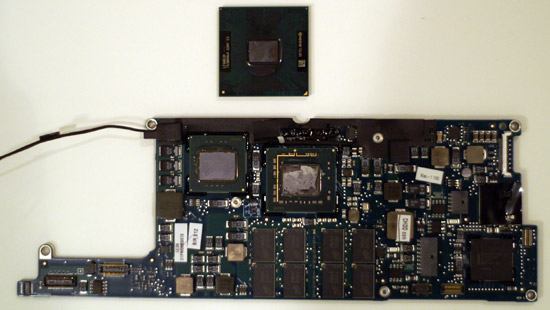
As a reference, here's a standard 35mm x 35mm mobile Intel CPU compared to the new smaller package that's in the MacBook Air. Note that this isn't Merom based, but the package size is the same.
Now it's time to put this thing back together, our review will follow soon.


